![]()
Requirements
Before setting up the client as 'Self bill' on the portal, we require the master terms with you (the customer and your client. The terms must state who the RPO is and the payment terms between the two parties.
The worker will need to log their time on the end clients timesheet system. Once you receive the approved timesheet, you can save a copy from their system and upload it to the Sonovate platform.
Watch our video guide below for a step-by-step guide on how to upload signed timesheets in the Sonovate platform. Click here for more information on timesheets.
 Setting up a bill client
1. From the dashboard, go to the navigation bar. Click 'Contacts' and then choose 'Clients' from the dropdown.

2. Click 'Add client' in the top right corner.

3. Half way down the page, you'll see the 'Invoicing' section. Tick the box next to 'Self bill'. This will trigger our system to generate a proforma rather than an invoice. 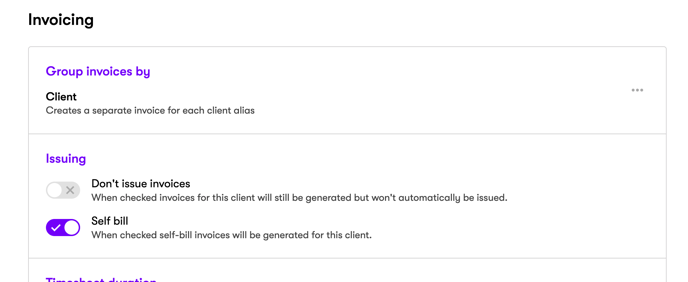
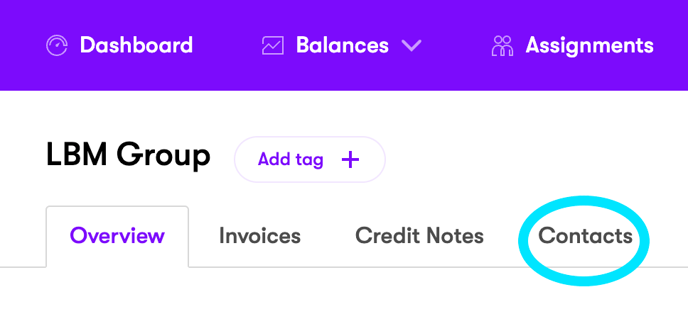
4. Next, click the 'Contacts' tab.
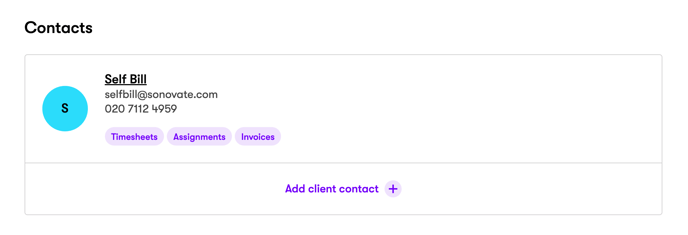
5. Set up the contact email as selfbill@sonovate.com.
6. Now, go back to the 'Overview' tab and continue to fill out the rest of the client details. The video below will guide you on how to do so.