- Adding PO numbers on a client profile
- Adding a PO number to an assignment
- Adding and editing a PO on a submitted timesheet
![]()
Adding PO numbers on a client profile
A list of PO numbers can be managed on the client's profile. They will then be available to add to assignments and timesheets for that client. Alternatively, PO numbers can be added directly to the assignment itself (see below)
1. To add the PO number to the client profile, go to the 'Contacts' tab in the navigation bar.
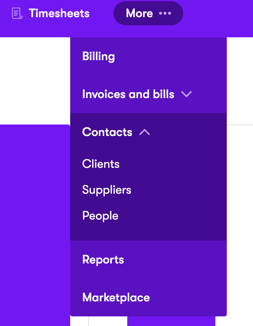
2. Select 'Clients'.
3. Select the client that requires the PO number.
4. Scroll down the page until you see 'Purchase order numbers' section.

5. Click 'Add purchase order number' and enter the number provided by your client.
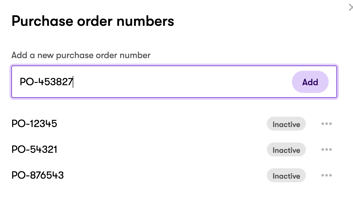
6. Click 'Add', and the number will be added to your list of POs. It will automatically be active.
7. The PO number will now be available to use on assignments for the client.
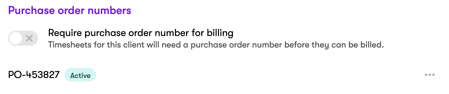
Note: Some clients require a PO number on their invoices. If that's the case, toggle on that setting, as below:

When this option is selected, a timesheet must have a PO number attached in order to be billed. Otherwise it will show as a billing issue on both the dashboard and billing page.
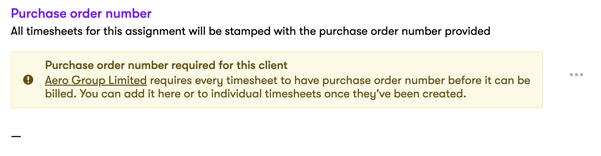
Below is an example where billing is prevented due to the absence of a PO number.

Click on '1 issue'. Here, you can how to resolve the issue.

![]()
Adding a PO to an Assignment
Now you have your list of POs on the client record, you need to add one to an assignment. Adding a PO to an assignment will ensure that when timesheets are invoiced, they will have the PO number applied. You don't need to have added one to the client already - you can add it directly, via the assignment, if you prefer.
- Go to the assignment that requires the PO number
- Scroll down until you see the "Purchase order number' section.
- Click the 3 dots, then edit.
4. Enter a new PO number, or select an active number that has already been added to the client.
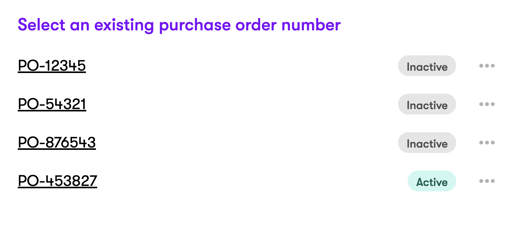
5. The PO number has now been successfully added to the assignment. This can also be removed or changed at any time, as required
Adding and editing a PO on a submitted timesheet
Timesheets will inherit POs from the assignment. Sometimes, however, you may need to add a different PO on a timesheet before it is invoiced.
Note: this can only be done once a timesheet has been submitted.
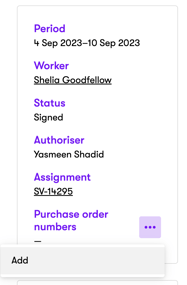
- Click on the submitted timesheet that requires a change of PO number.
- On the left hand side of the page, you will see the 'Purchase order numbers' section. Click on the the 3 dots next to the title
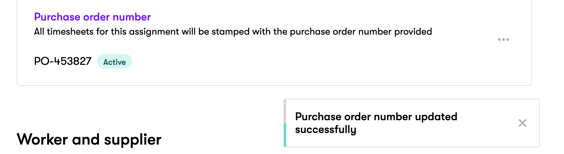
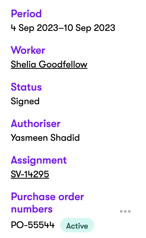
- Enter the required PO number, or choose an active number if relevant. We'll enter a new PO in this example.
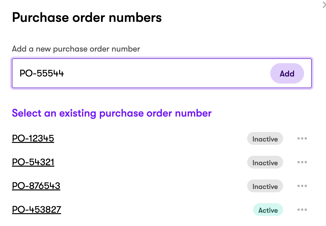
4. Once you have added the number, it will appear on the timesheet, and then be pulled through onto the invoice.
Note: Changing the PO number here will only change it for that timesheet. If you want the new PO number on all future timesheets, you will need to change it on the assignment too.
Need help?
Contact our team directly by raising a support ticket in the app.