- Company VAT Number
- Uploading Logo & Branded Colours
- Company Bank Details
- Inviting Additional Sonovate Users
![]()
How to Add Company VAT Number
- NB - only add a VAT number if you are VAT registered. If you are not VAT registered (and therefore should not be charging VAT) then please leave this field blank.
- Click on the company name on the top right corner.
- On the dropdown, click 'Settings'.
- Select 3 dots on the right side under organisation details.
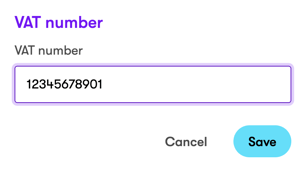
- Enter VAT number and click 'Save'.
![]()
Adding Logo & Branded Colours
Your logo will appear on invoices sent to clients. You also have to flexibility of adding multiple brands if your company has multiple trading as names e.g. AgencyX Wind, AgencyX Solar, AgencyX Ocean.
- Click on you company name on the top right corner.
- On the dropdown, click 'Settings'.
- Select the 3 dots on the right side of 'Brands'
- Select 'Edit'.
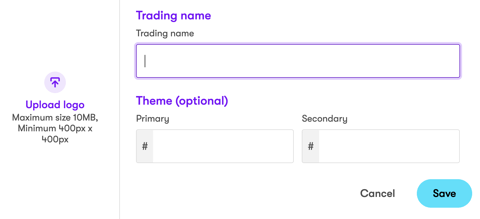
- Click on the prompt to the left to upload a logo.
- Enter your trading name. This can differ from the company registration name if applicable.
- You can customise invoices by using your branded colours on them. You can either use the colour selector, or enter the hex codes if known.
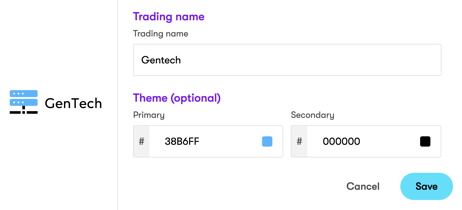
- Click 'Save'.
- The logo and colours will now appear on the invoices!
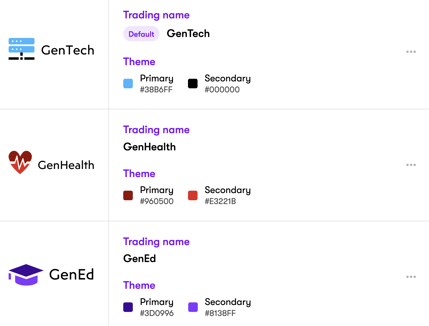
Below is an example of 3 different brands set up in the portal. You can add additional brands by selecting ‘Add brand’ at the bottom of the page.
![]()
Adding Company Bank Details
- Click on agency name on the top right corner.
- On the dropdown, click 'Settings.'
- On the navigation tabs, select 'Bank accounts.'
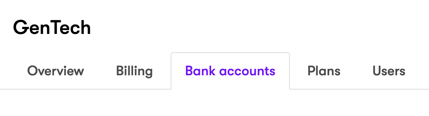
- Enter the details for the available currencies.
- The receipt accounts at the bottom of the page contain the information that will be visible on the invoices for your clients to make payments to.
![]()
Inviting Additional Sonovate Users
- Click on your company name on the top right corner.
- On the dropdown, click 'Settings'.
- In the navigation tabs, select 'Users'.
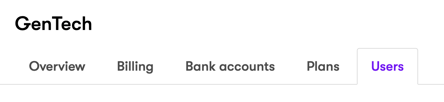
- Click 'Invite user'.
- Enter the individual who you would like to invite’s email address.
- Select permissions: Editor (can view the system and will receive reports, but does not have the ability to add assignments) Administrator (Full access to the system).
- All users will receive the weekly reports. To remove a user from the mailing list, email customerexperience@sonovate.com.
- To remove users, select the 3 dots next to their profile and select 'Remove user.'